1. Create the SAML Application
Since Signals is not yet in the Okta Integration Network, you will need to create a new custom SAML application.- Sign in to your Okta Admin Console.
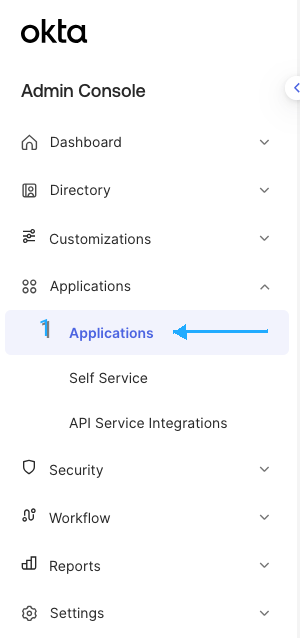
- Navigate to Applications in the main menu.
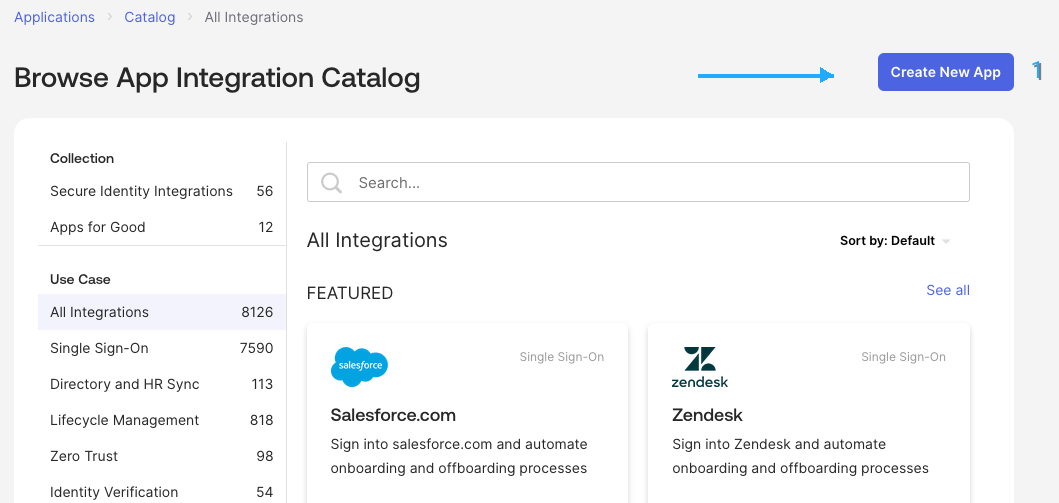
- Click Create App Integration.
- Select SAML 2.0 as the sign-in method.
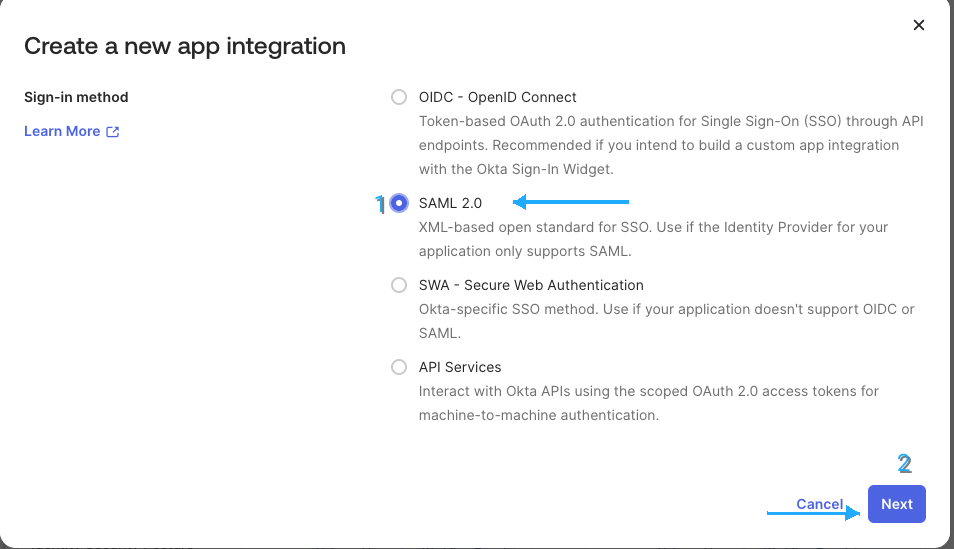
- Click Next to proceed to the configuration.
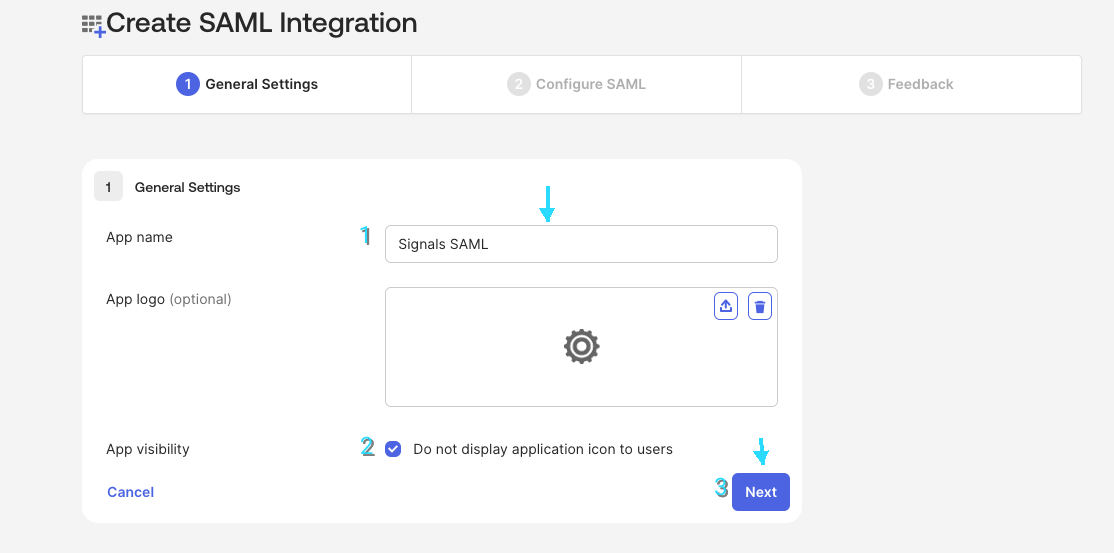
- In the General Settings tab, fill out the form and click Next:
- In the Signals application, go to the bottom left and click on your profile picture. Click settings, Org Settings, Identity Management. (This is placeholder text with no images until we have finalized the settings page ports).
- Once there, copy the Assertion Consumer Service (ACS) URL and paste it into the Single sign-on URL field in the General Settings tab in Okta.
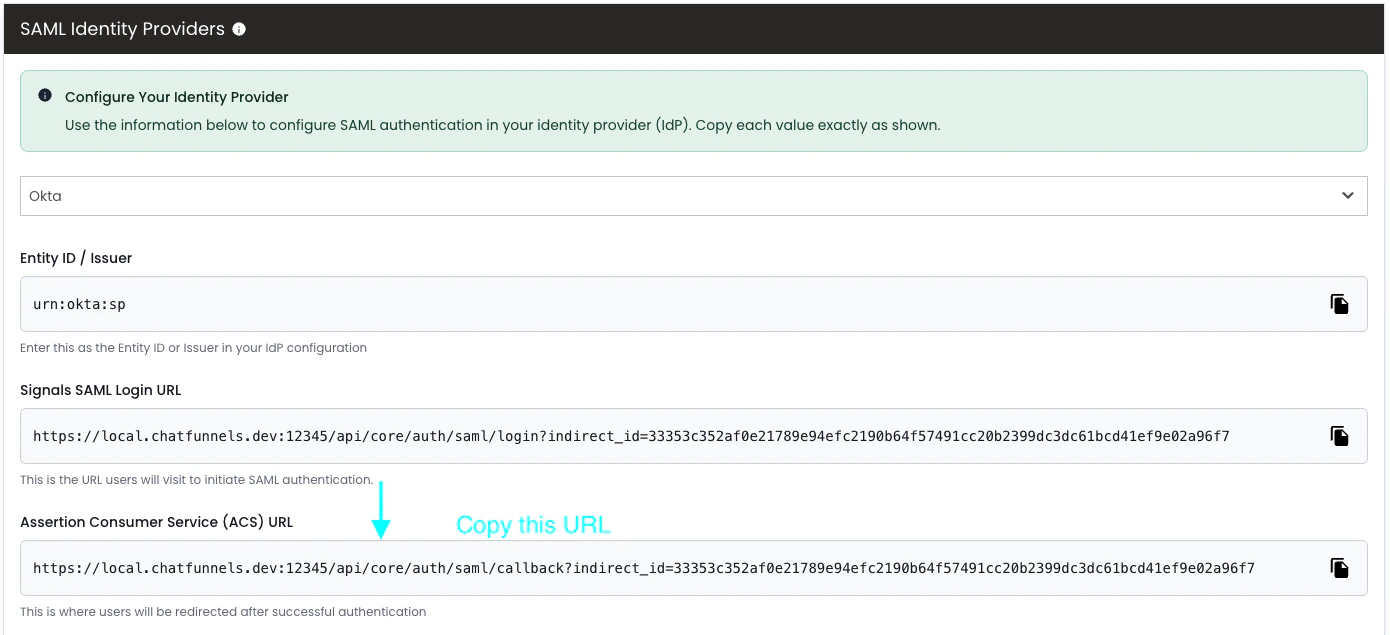
- Next, copy the Entity ID / Issuer from the Signals app and paste it into the Audience URI (SP Entity ID) field in the General Settings tab in Okta.
- On Okta, for Name ID Format, select
Unspecified. This uses Okta’s default. - For Application username, select
Email.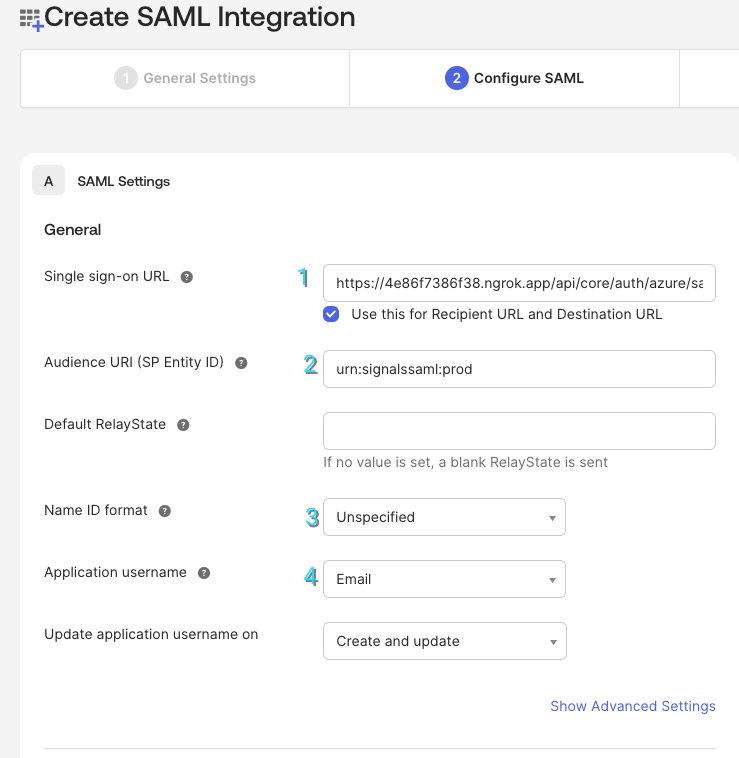
- Scroll down and click Next.
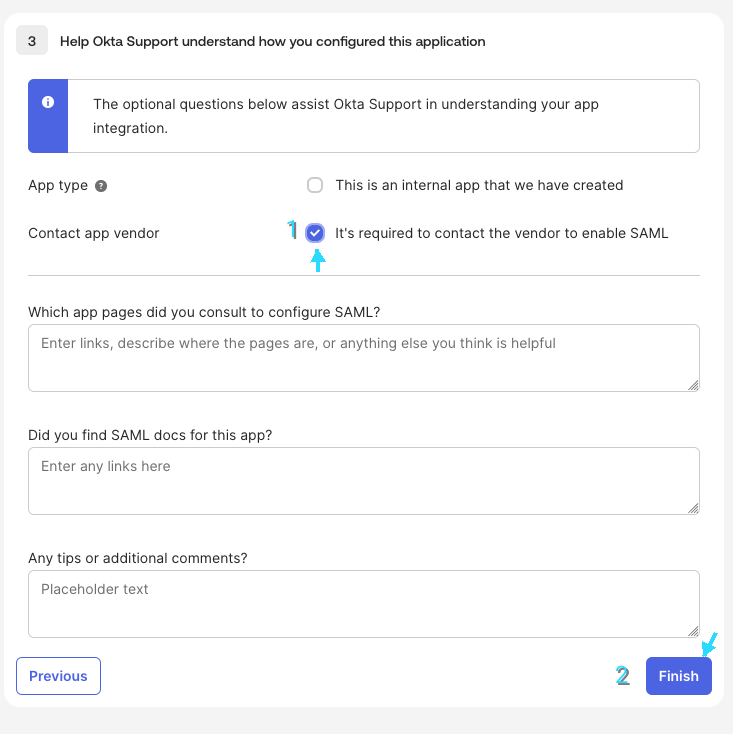
- Now, check Contact App Vendor and click Finish.
- After clicking Finish, you will be redirected to the Signals application in Okta. Copy the Metadata URL as shown below.
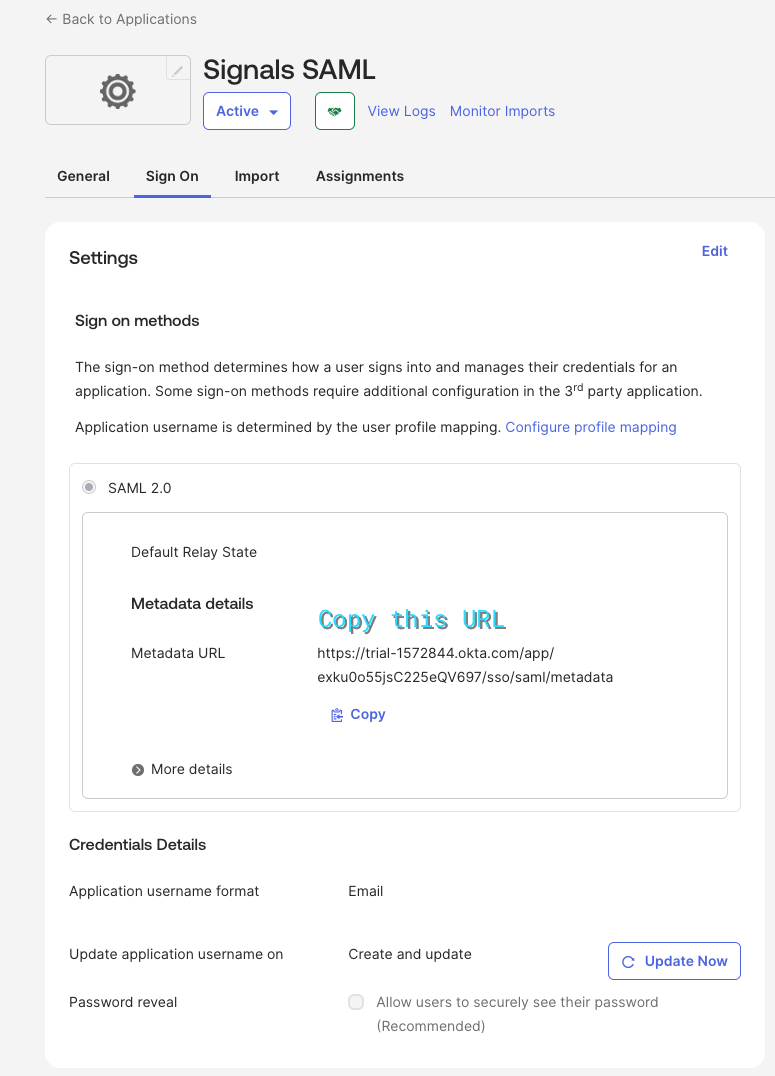
- Now, go back to the Signals application Identity Management page and paste the Metadata URL into the Metadata URL field.